Friday, April 4, 2025
Cloudflare Turnstile Integration with NestJS and Next.js
Posted by

Integrating Cloudflare Turnstile in NestJS and Next.js
Introduction
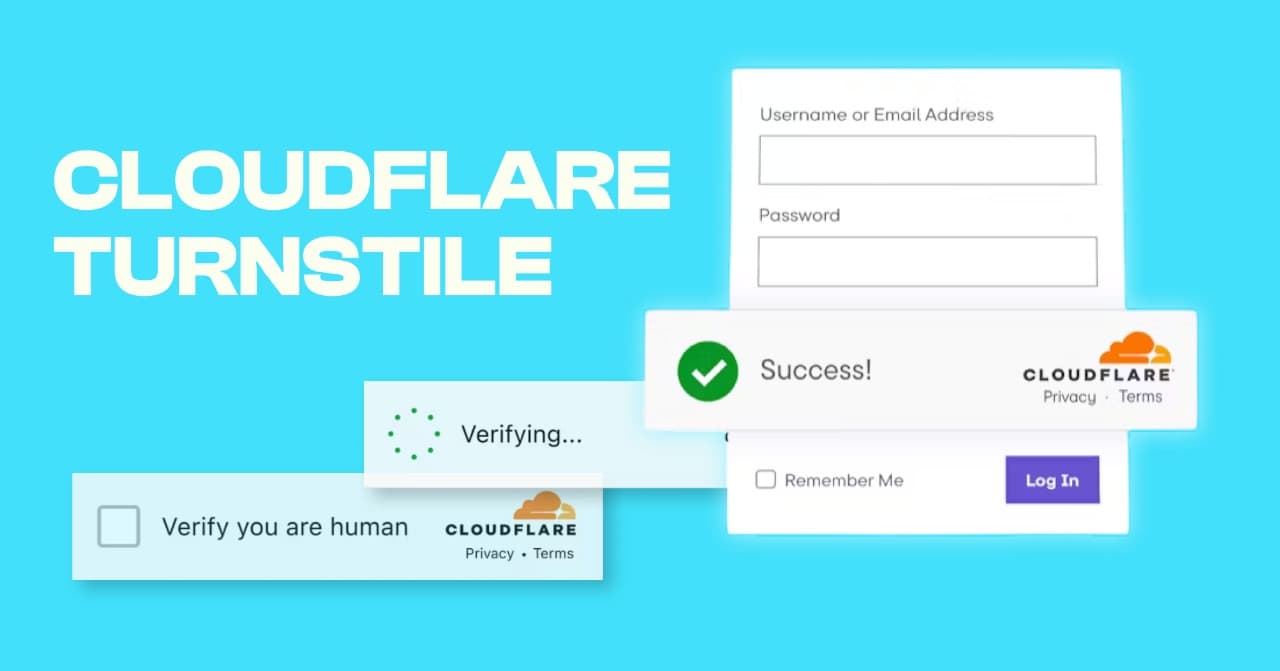
CAPTCHAs have long been a necessary safeguard against spam and bot traffic, but they often introduce friction into the user experience. Cloudflare Turnstile offers a modern, privacy-focused, CAPTCHA-free alternative that allows you to verify users seamlessly.
In this guide, we'll walk through how to integrate Cloudflare Turnstile with a NestJS backend and a Next.js frontend.
Why Use Cloudflare Turnstile?
- No User Friction – Users are verified without solving puzzles.
- Privacy-First – Does not track or fingerprint users. Seamless
- Integration – Designed to work easily with multiple frameworks.
- Server-Side Validation – Ensures security against token spoofing.
Flow Diagram: How Turnstile Works

Steps to Integrate in Next and Nest Js.
Step 1: Set Up Cloudflare Turnstile
- Go to Cloudflare Turnstile and register your site.
- Retrieve your Site Key and Secret Key.
- Choose a widget mode (e.g., Managed, Non-interactive, or Invisible).

Step 2: Frontend – Next.js Integration
- Install the Turnstile React Package
npm install react-turnstile - Add Environment Variables Create a .env.local in your Next.js root:
NEXT_PUBLIC_TURNSTILE_SITE_KEY=your-site-key
NEXT_PUBLIC_API_URL=http://localhost:3000/api
- Create the Turnstile Component
import React, { useState } from "react";
import Turnstile from "react-turnstile";
interface Props {
  onVerify: (token: string) => void;
}
const TurnstileComponent: React.FC<Props> = ({ onVerify }) => {
  const [token, setToken] = useState("");
  return (
    <div>
      <Turnstile
        sitekey={process.env.NEXT_PUBLIC_TURNSTILE_SITE_KEY!}
        onVerify={(token) => {
          setToken(token);
          onVerify(token);
        }}
      />
    </div>
  );
};
export default TurnstileComponent;
- Use the Component in a Form
import React, { useState } from "react";
import TurnstileComponent from "../components/TurnstileComponent";
const Home = () => {
 const [token, setToken] = useState("");
 const [message, setMessage] = useState("");
 const handleSubmit = async (e: React.FormEvent) => {
   e.preventDefault();
   const response = await fetch(
     "${process.env.NEXT_PUBLIC_API_URL}/auth/verify-turnstile",
     {
       method: "POST",
       headers: { "Content-Type": "application/json" },
       body: JSON.stringify({ token }),
     },
   );
   const data = await response.json();
   setMessage(data.message);
 };
 return (
   <form onSubmit={handleSubmit}>
     <TurnstileComponent onVerify={setToken} />
     <button type="submit">Submit</button>
     {message && <p>{message}</p>}
   </form>
 );
};
export default Home;
Step 3: Backend – NestJS Verification
- Install Dependencies
npm install axios dotenv - Add Turnstile Secret Key
TURNSTILE_SECRET_KEY=your-secret-key
- Create a Verification Service
import { Injectable } from "@nestjs/common";
import axios from "axios";
@Injectable()
export class TurnstileService {
 async verifyToken(token: string): Promise<boolean> {
   const secretKey = process.env.TURNSTILE_SECRET_KEY;
   const response = await axios.post(
     "https://challenges.cloudflare.com/turnstile/v0/siteverify",
     new URLSearchParams({ secret: secretKey, response: token }),
     { headers: { "Content-Type": "application/x-www-form-urlencoded" } },
   );
   return response.data.success;
 }
}
- Add an Auth Controller
import { Injectable } from "@nestjs/common";
import axios from "axios";
@Injectable()
export class TurnstileService {
  async verifyToken(token: string): Promise<boolean> {
    const secretKey = process.env.TURNSTILE_SECRET_KEY;
    const response = await axios.post(
      "https://challenges.cloudflare.com/turnstile/v0/siteverify",
      new URLSearchParams({ secret: secretKey, response: token }),
      { headers: { "Content-Type": "application/x-www-form-urlencoded" } },
    );
    return response.data.success;
  }
}
Step 4: Run and Test
- Start the backend:
npm run start:dev - Start the frontend:
npm run dev - Submit the form and check verification status.
Cloudflare Turnstile vs. Google reCAPTCHA
| Category | Cloudflare Turnstile | Google reCAPTCHA |
|---|---|---|
| User Experience | No puzzles; seamless | May show puzzles or checkbox |
| Privacy | Does not track users | Behavioral tracking and cookies |
| GDPR Compliance | More transparent and compliant | Often questioned under GDPR |
| Integration | Simple, modern API | Requires integration into Google stack |
| Invisible Option | Yes (managed widget) | Yes (invisible v2/v3) |
| Customization | Highly customizable | Limited customization |
| Security | Strong bot detection | Strong, but with behavioral scoring |
| Rate Limits | Generous and free | Usage quotas apply |
Summary
- Use Cloudflare Turnstile if you value privacy, simplicity, and a frictionless user experience.
- Use Google reCAPTCHA if you're already integrated into the Google ecosystem and require more complex risk analysis with established infrastructure.
Conclusion
Cloudflare Turnstile provides a user-friendly and privacy-conscious approach to bot prevention. By integrating Turnstile into your NestJS and Next.js applications, you can enhance security without sacrificing user experience. This setup is particularly effective for protecting login forms, contact submissions, and other sensitive user interactions.Integrating Cloudflare Turnstile in NestJS and Next.js For further improvements, Turnstile verification can be wrapped into guards or middleware to protect specific routes or endpoints throughout the application. If you need additional help implementing this in production or customizing it to your architecture, feel free to reach us out at [email protected].
this is good